
In order to make any accurate part, the first task is assembling adequate documentation. I use plans, photos and ordinance pamphlets from The Floating Drydock a lot, as well as many of the great reference books that are available these days.
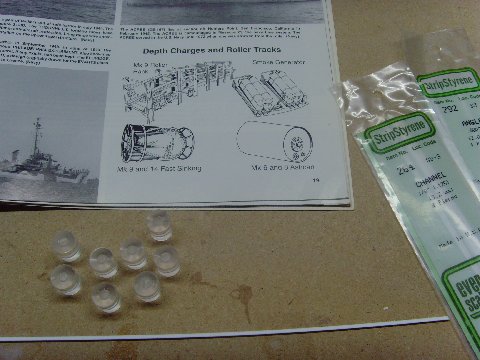
For this project, I also used Destroyer Escorts in Action, by Al Adcock.
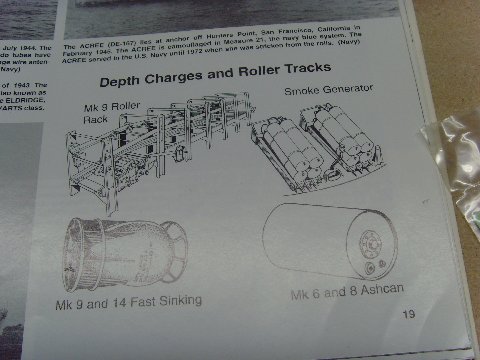
The example in this article is built in 1/48th. First, we need the depth charges. There are several commercial examples available, from Quartermaster, Scale Shipyard , and perhaps others. Since I have a lathe, I turned mine out using 1/2" acrylic rod. Layout your charges then glue together using your favorite liquid cement.
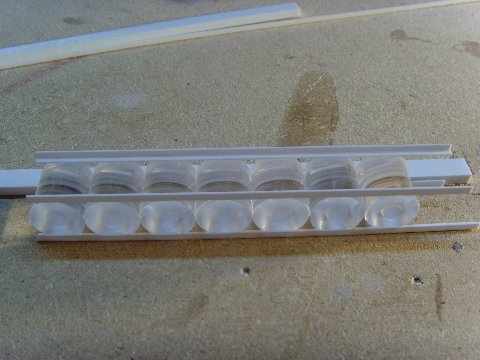

I use MEK, but with extreme caution, as this is a highly toxic chemical. You can also find suitable liquid glues at most hobby shops in much smaller containers. Most of the structure of the rack is made from Evergreen Plastic. Once the charges have dried enough to handle I then lay upper and lower rails on the depth charges, but don't trim yet.. These are made from Evergreen 1/8" right angle in this case.
Using plans and photos as a guide, add the supports for the loading area, again made from right angle.
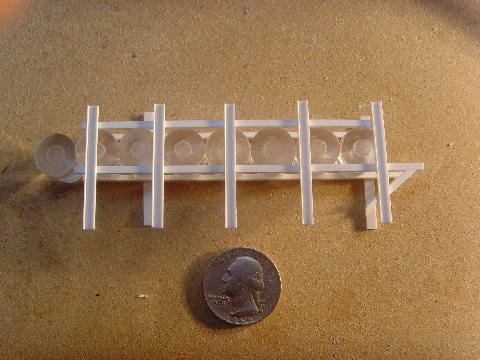
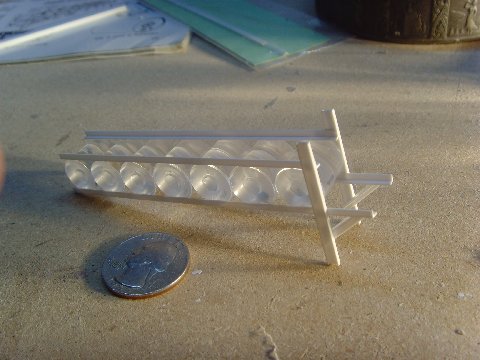
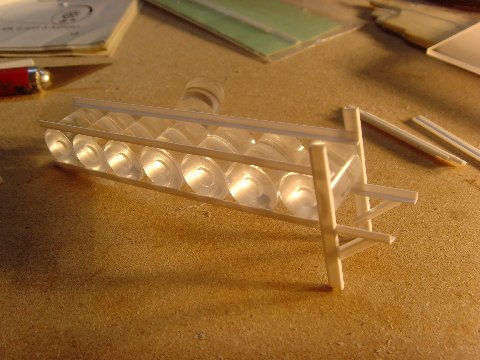
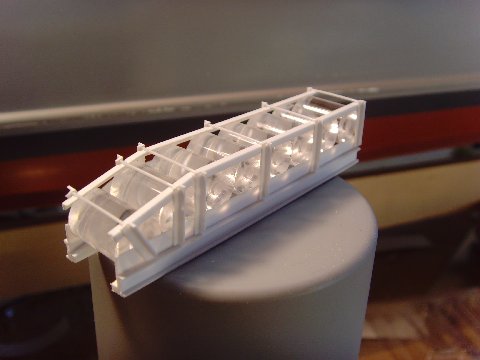
You start getting the idea here. Using structural shapes and liquid solvent, the racks are welding together is a manner very similar to the prototype construction. Here "C" channel has been added to form the support legs. Note that the last charge has been bent down a bit to establish the angle where the depth charges are rolled off the stern.

The upper spreader bars are installed using solid round stock. Note that go into holes drilled into the vertical pieces; this is to provide both a prototypical appearance and greatly increases the strength of the finished rack.
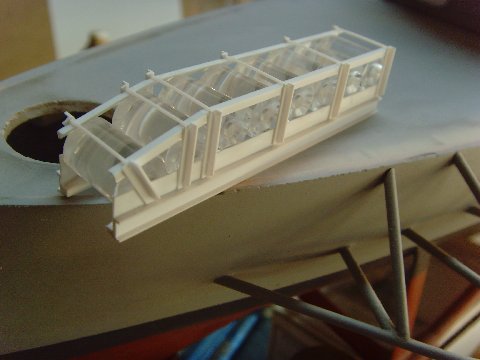
There are a couple of ways to install the rack on your ship. You can either add welding pads to the bottom of each vertical member and then glue the rack on your ship, or you can put drill and install thin brass wire into the bottom of the vertical and then drill matching holes and glue the racks on that way. The latter method is more work, but it is more secure as well. Because of their nature, the racks hang over a bit, and you wouldn't want a bump at the pond to send your work to the bottom!
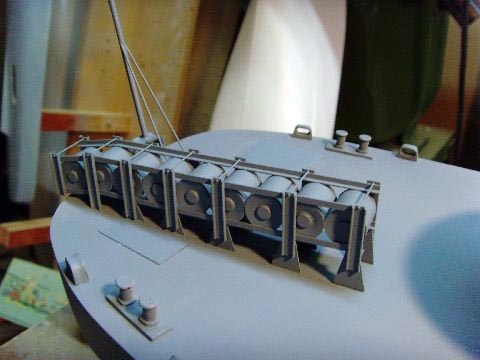
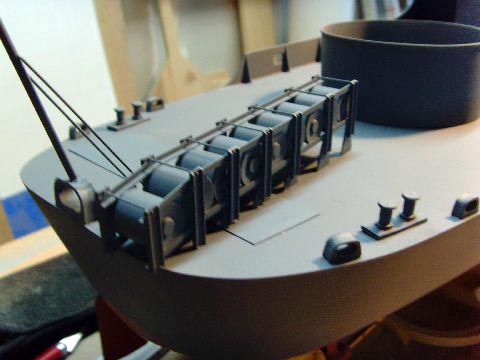
Here is a shot of one of the racks, painted and mounted to the ship.
Using the same methods, here are a couple of racks I built for a Clemson class 4-piper destroyer.
Joe Hanacheck is the owner of West Coast Warships, a supplier of 1/48 scale Warship Hulls.

Back to Construction Articles
110
Version 1.1 1/09