
Over a couple of year I have been trying to figure out how to make those so called Blast Bags that go around the main barrells of BB's and CA's, well I have came up with some thing that I think many others can do. If you have a Lathe this first part can be done very easy, if with out a Lathe or the knowing of some one who may have one you may be able to use a drill on slow speed. I first cut a small grove at the point in which the bags start on the barrell.
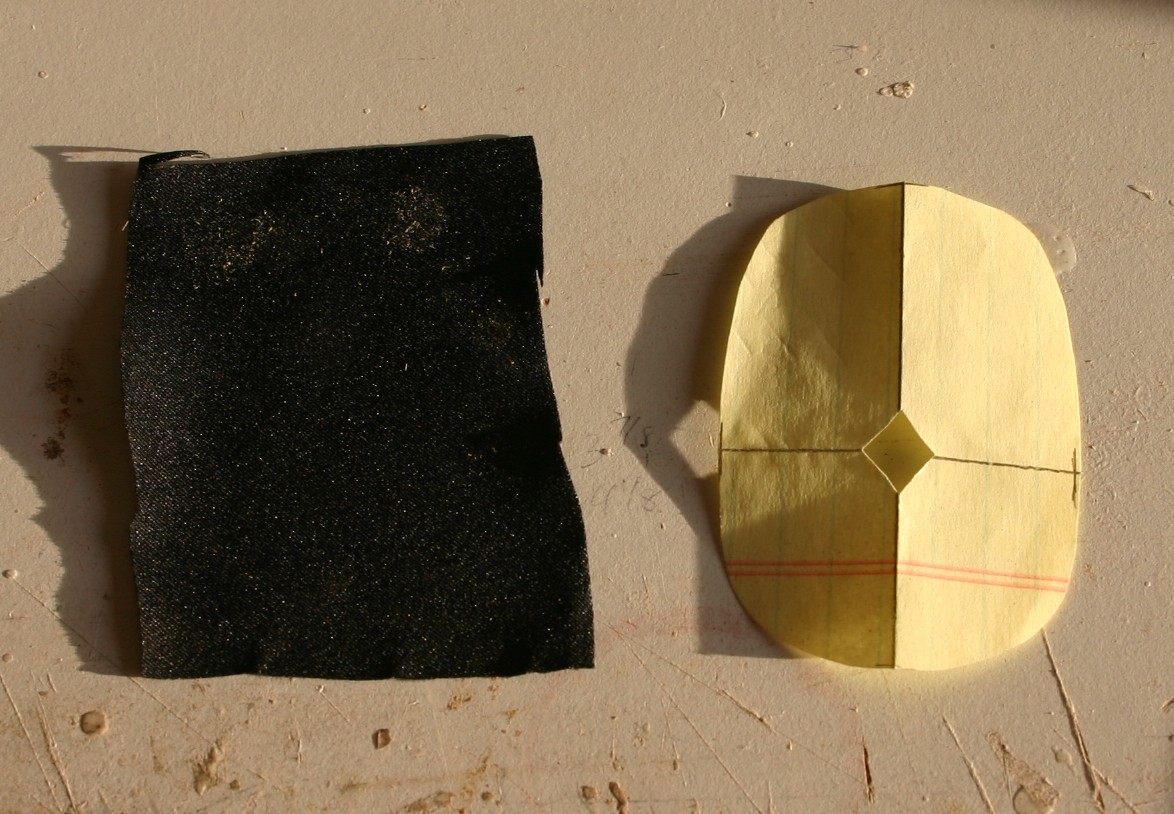
I then made various oval templates until I came across one that did the job for me, the overall size of the template ending being 3 inches tal by 2 inches wide. I then used this template to cut the black cloth that I had purchased from Walmart. I got the thinest cloth that they had to help me in tucking and glueing of the cloth to the gun houseing.
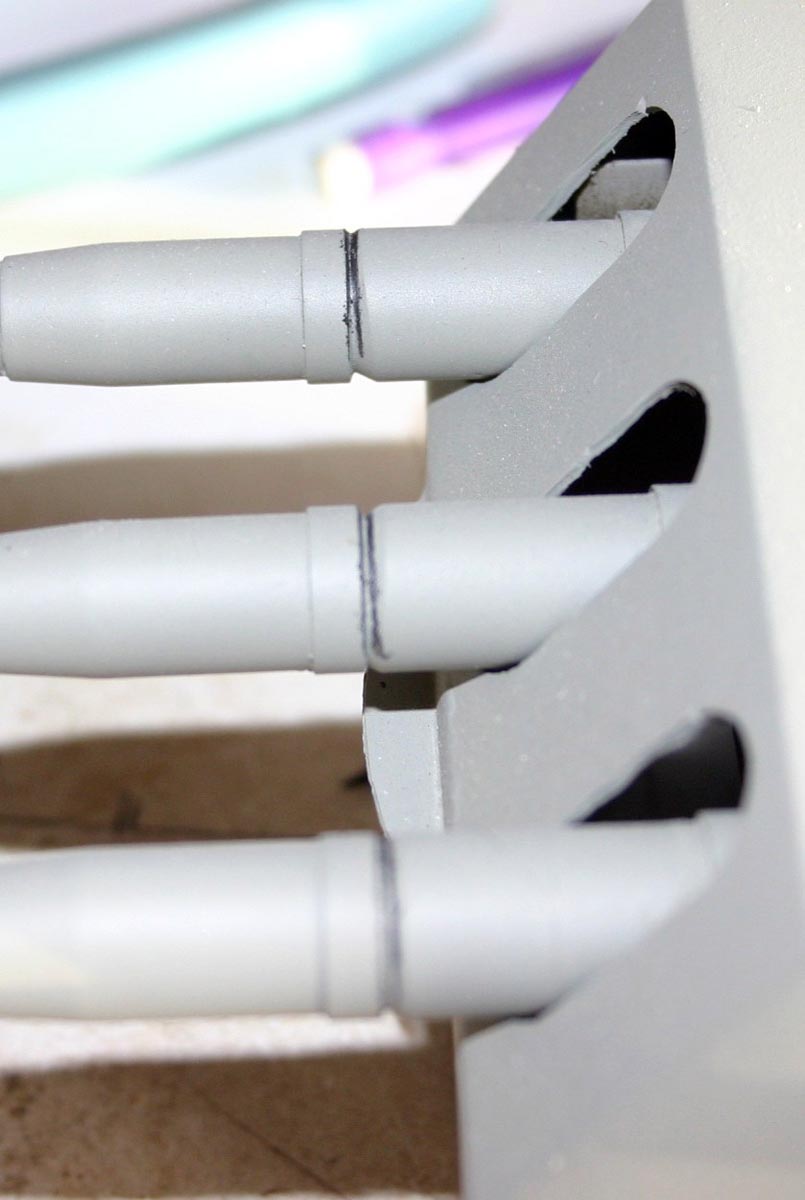
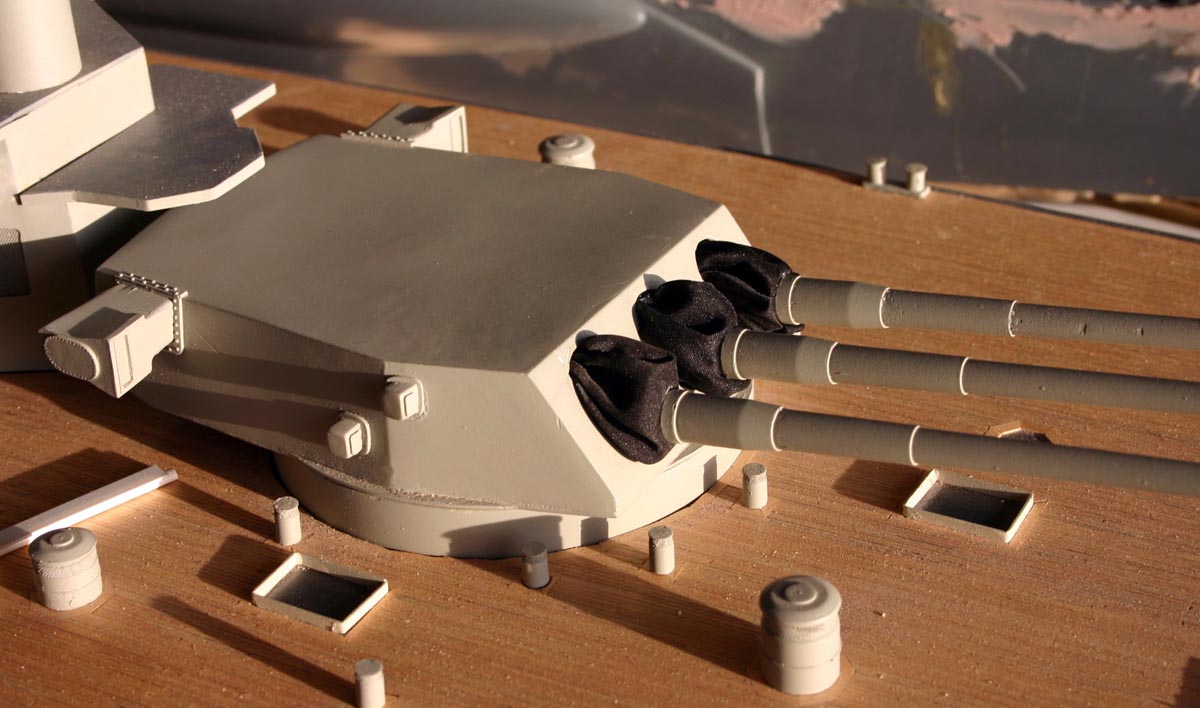
In this next photo I took a pencil to show the grove that I put into the barrell before hand using a Lathe.
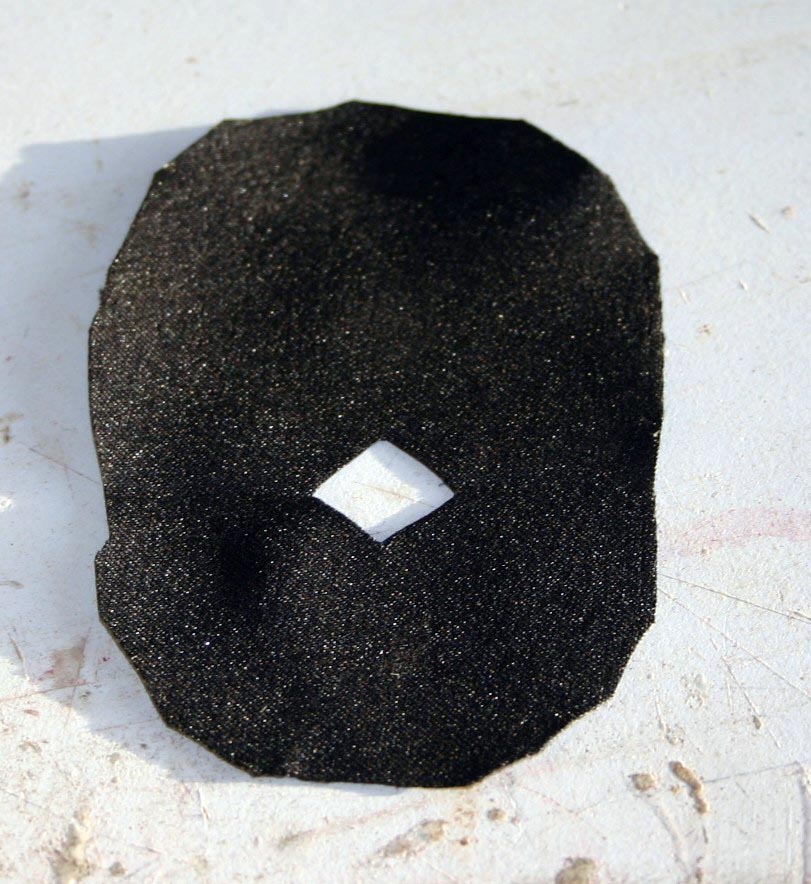
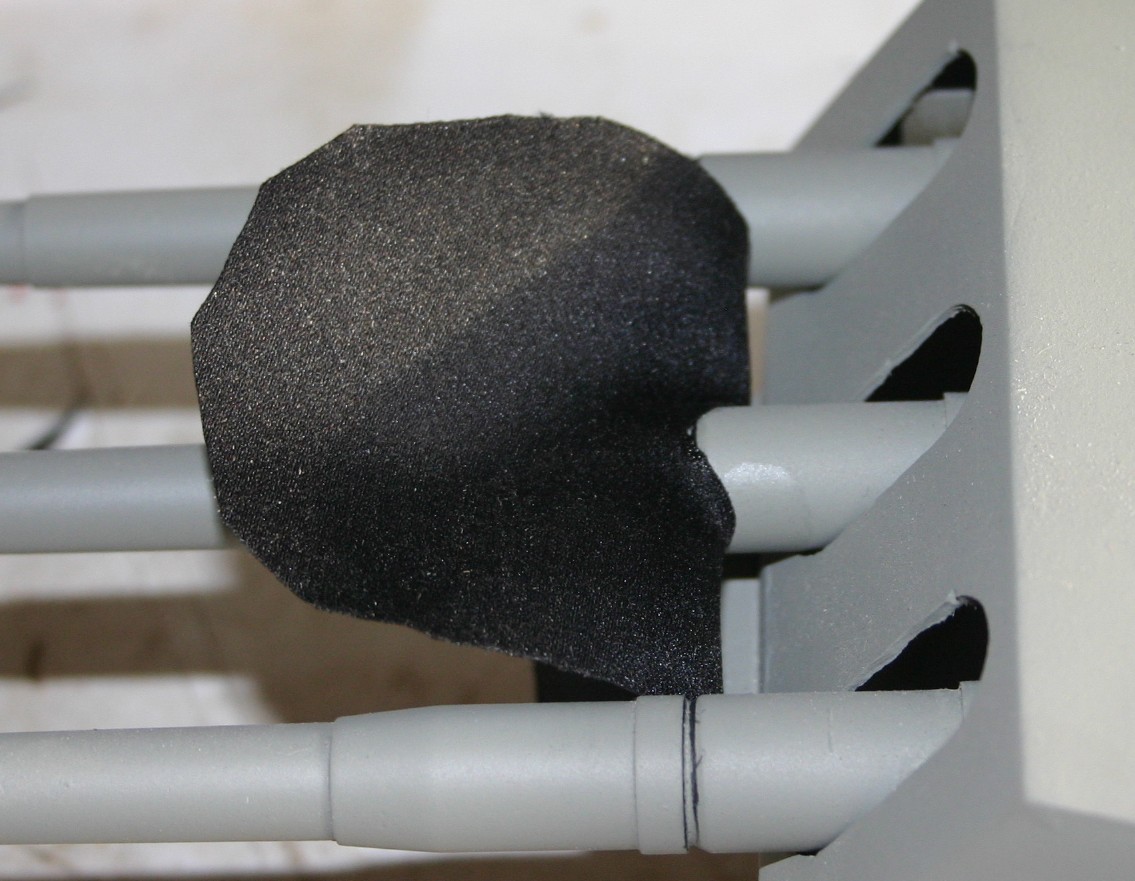
Now I took the cloth that has been cut and with a section cut out below the center point, and slide it onto the barrell. You can see why for the whole in the cloth. The reason you need the hole to be below the center point is that the distance from the barrell lower side to the housing is less of a distance than it is from the top of the barrell to the housing.
In this next photo I took the cloth pass the point of the grove in the barrell close to the housing, then rolloed it back onto it's self towards the end of the barrell. I stopped at the point when the top of the notce in the center cut showed the grove and then moved it slightly back just to cover that grove. At this point I then gave a couple of spots of glue using CA glue to hold the cloth in place.
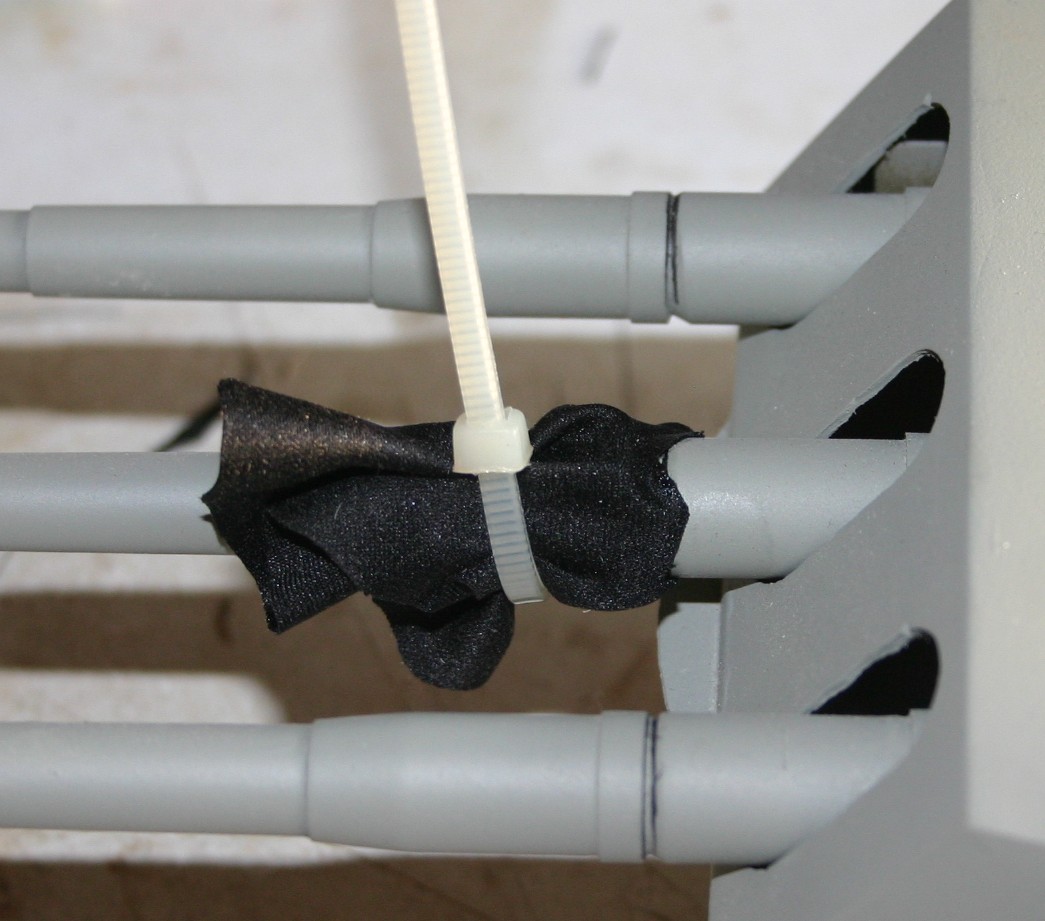
After that is done I then a tie wrap to hold the materila in place while I took two starnds of wire that I used from a multi stranded wire and twisted them together. I then took the twisted wire and then wraped it around the barrell.
At the point where I have the grove and brought then around and then twisted them together like you would do when putting a twist tie onto a loaf of bread.
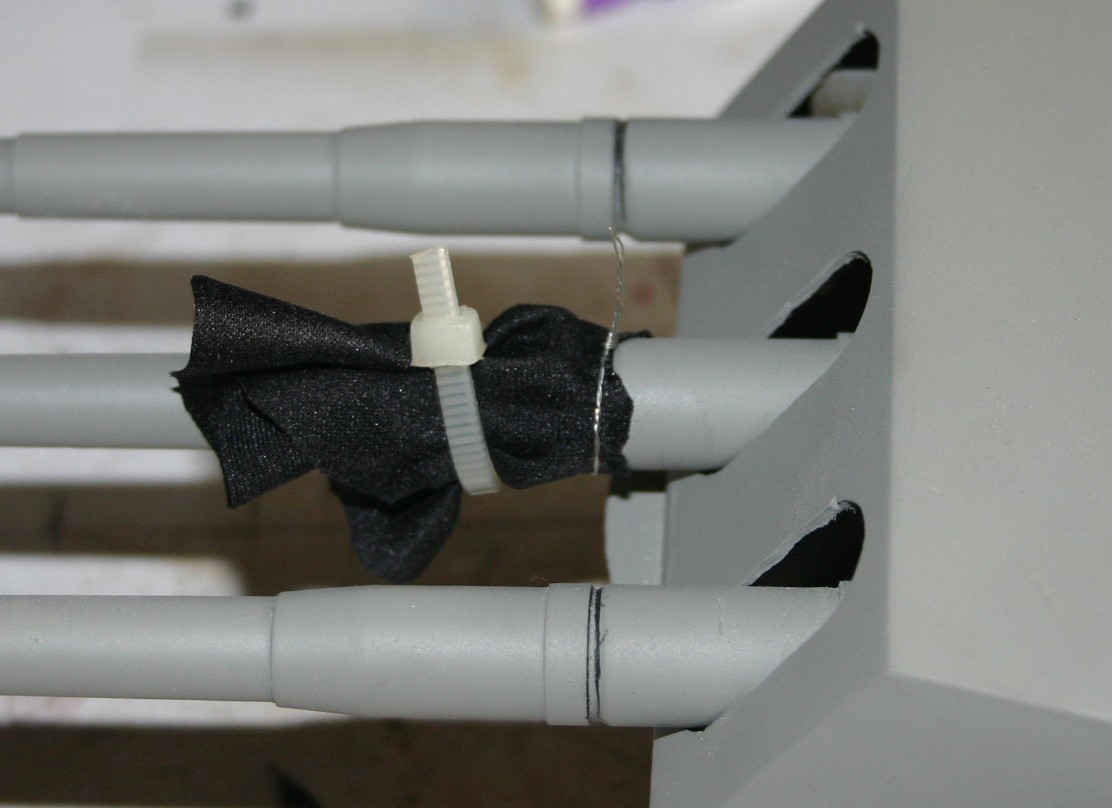
After I had the wire strands twisted together I then cut off the extra amount of wire that I did not need, don't cut to close leave about 1/16 inch then bend it over towards the gun housing. I then cut off the tie wrap and then tucked in the cloth at the sides and at the bottom. I then put some CA glue onto the cloth and on the gun housing edge at the point wher the barrells enter into the housing.
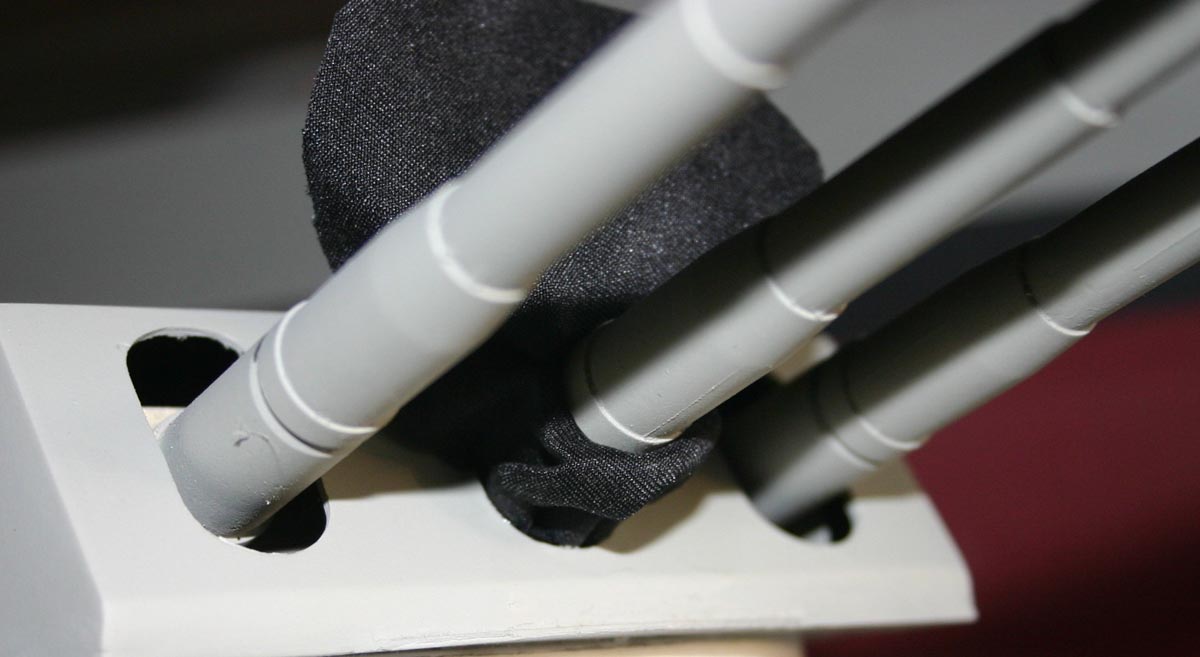
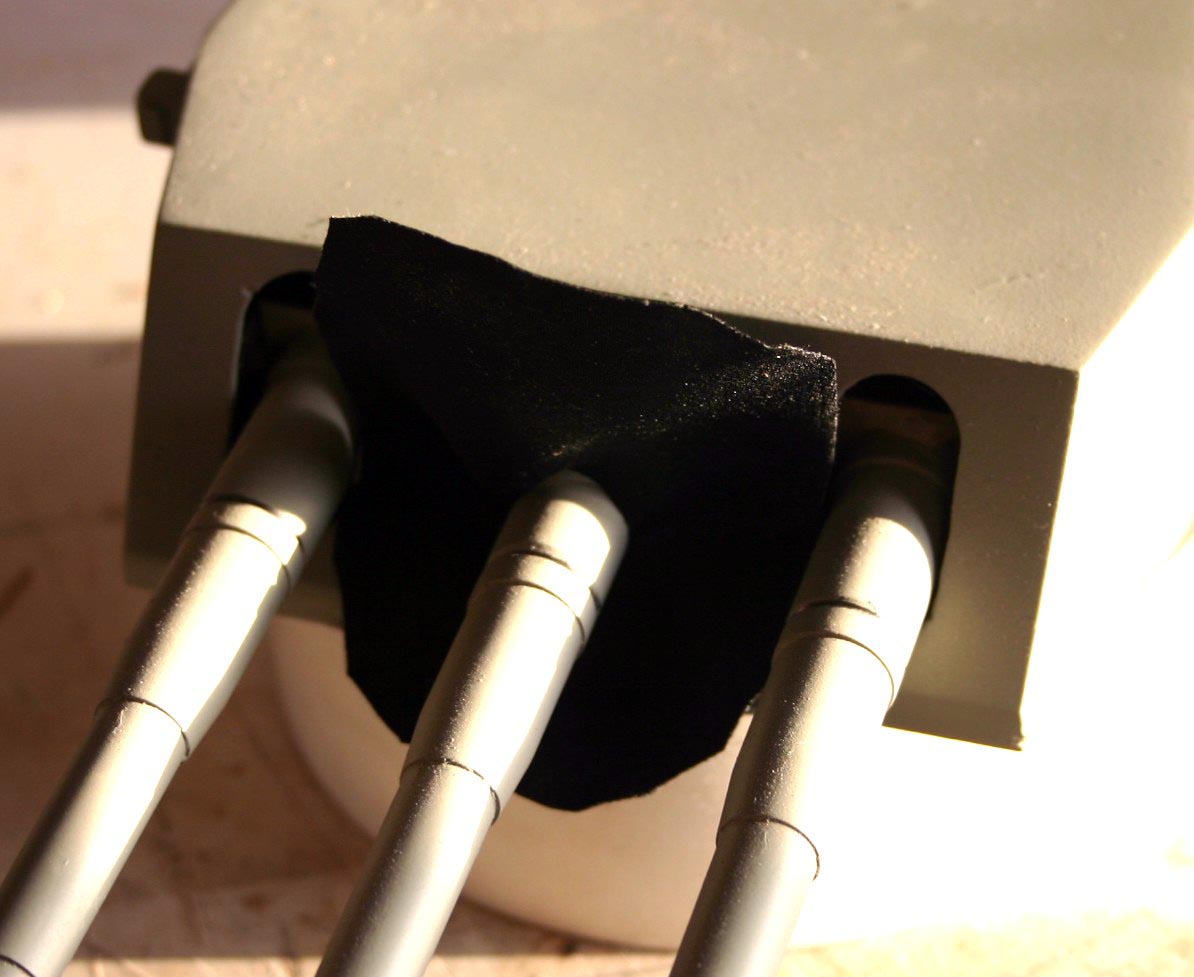
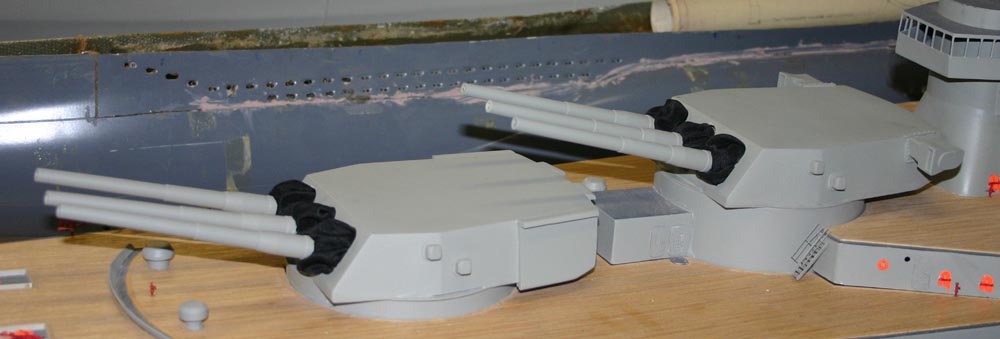
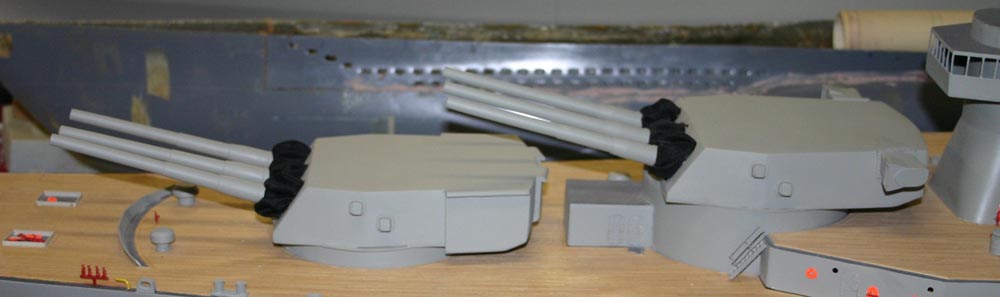
I then tucked in the top and glue that as well, remember first get the cloth looking about the way that you want it to look before you glue it into place first. When I did my project I first did the center barrell first then the outer barrells which seemd to work for me. Each barrell will have a difference appearance from each other which is good after all none of those bags have the same look of each other on the real ships. After I was all done this is how my turrett looks when placed back onto my model of the Wissconsin BB 64.
I hope that helps many of you out there in the Naval Model world and that you can have fun with this, the over all time it took me per turrett was aroun 2 hours each. I plan on making the barrells to move up and down and they still have that movment still after this was done. The movement I have after this was done was a bit less than what I wanted, but I am still happy with the way this project came out for me. I will still be able to show movment up and down that it will still make on lookers keep watching the model. I would have to say that the barrell moves about 4 inches at the end of the barrell. I hope to see many other modelers doing the same with their models.

Duane Curtis is the owner of WarshipPlans.com, a source for original US Navy plans.

Back to Construction Articles
645
Version 2.0 4-19-20